How To SLIME Presta Valve Tubes
November 12th, 2006 by RL PolicarFor the most part putting Slime into presta valves was a bit of a mystery for most consumers. But you’d be surprised to know that you could actually get it done for half the price it would have cost to buy 1 pre-Slimed tube.
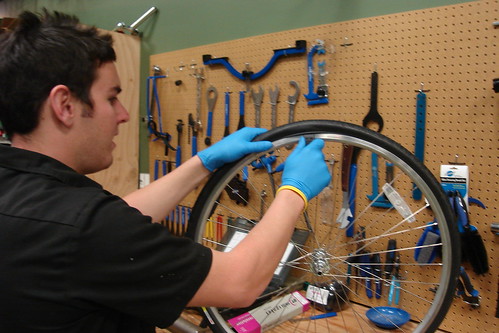
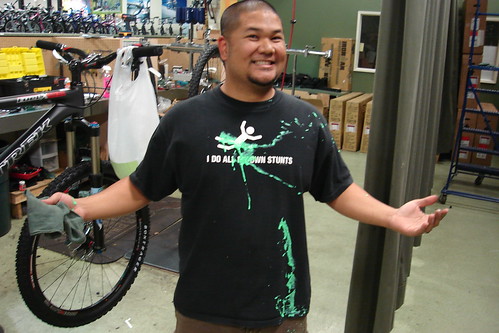
I went back to Jax Bicycle Center in Fullerton to get some advice from Scott Moore, a resident mechanic of the shop.
He was able to show me how they Slime presta tubes at the shop. We used the Redline 925 as the test subject.
First things first, remove the tube from the wheel.

Keep the valve closed and take some pliers and cut the very tip of the valve.

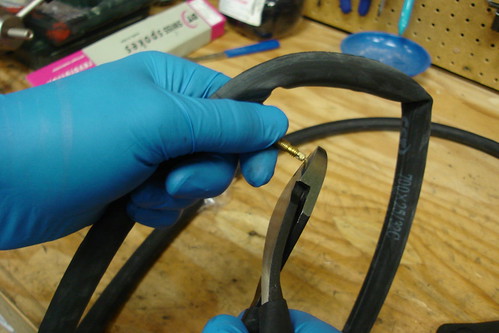
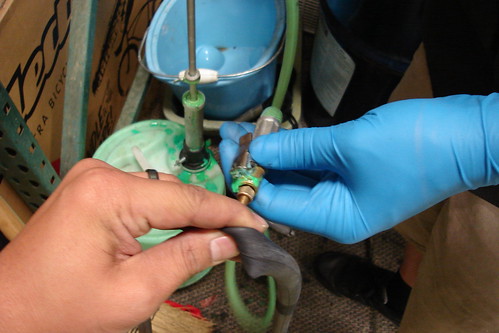
This next step is the most crucial part. Place your thumb below the valve to prevent the needle from falling into the tube. Hold the pin in place during the whole time. If you lose the valve in the tube, it could mean you buying a new tube.

Then place a Shrader valve adapter on the stem. Make sure you keep your thumb under the valve…

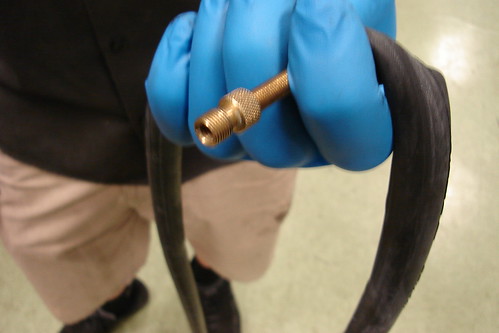
Since we’re at the shop, we used the Slime pump to fill the tube up with the green stuff. Don’t hold the pin too tightly.

If it’s too tight, you can get Slimed from the back pressure.

If you’re doing this at home, you can still use a bottle of Slime for this project. Just simply fill your tube as the direction states. But remember, don’t let go of the pin!
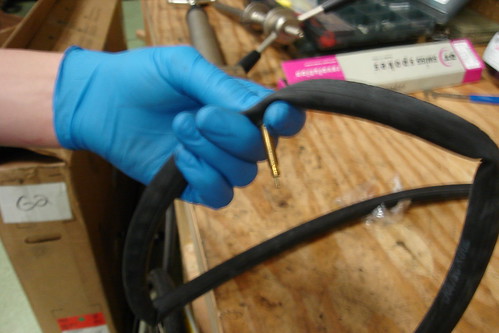
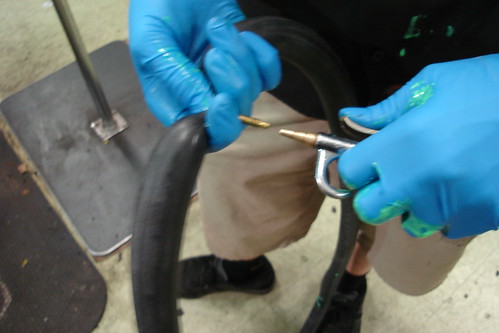
Now here’s the magic of it all. Once you’ve got enough Slime in there, blow pressurized air into the valve. See how Scott is still holding the pin. What happens after the tube gets enough air, the pin will shoot forward, making it visible.

Here’s a shot of the pin out of the valve stem after getting air in the tube.

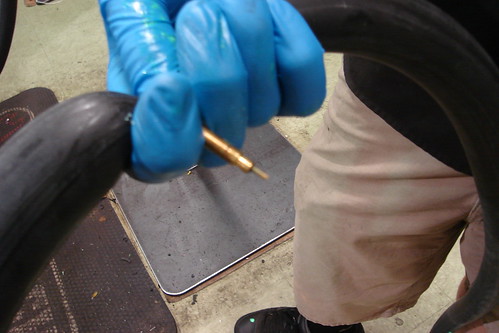
Then what you want to do is grab your pliers, hold the pin, then screw on the valve top.

Mount the tube back in to the wheel, fill it up with air, and you’re back in business!
Just keep in mind that the valve head can screw off completely. So when you need to fill it back up with air, just don’t unscrew it all the way.
Thanks again to Scott Moore fo Jax Bicycles of Fullerton.
Subscribe


November 12th, 2006 at 10:14 pm
Cool to see someone else doing it!
We have been doing it for years. However we do not find it necessary to clip the end of the valve with dikes. We just gently clamp vice grips on the nut and unscrew it. Needle nose vice grips work well, that way you can keep track of it. We also like to let the valve “fall” inside but we pinch it between our fingers inside the tube as it cannot get “lost” because it is inside the tube! We have occasionally “lost” it but it is not hard to find. The rest of the procedure is the same. Nice to see other smart folks out there that like tire sealant. We have heard customers tell us that other shops told them they could not patch a tube with sealant. We also use Slime.
November 13th, 2006 at 1:51 am
Wouldn’t it be a lot easier just to carry an extra tube? Slime makes such a big mess anyways when you get a big puncture from something like a screw ect….
November 13th, 2006 at 8:25 am
I use Continental tubes. They have removeable valve cores, which would make the whole procedure much simpler.
November 13th, 2006 at 6:47 pm
This is so funny… I just did this myself using the instructions found on Slime’s website. Check out the PDF on this page: http://www.slimesealant.com/customercare/viewfaq.php?id=36&q=
I also did not clip the tip of the valve, but I had to force the pin into the tube with a toothpick before I can grab it…. for some reason there is something there in my tube that prevents the pin from falling into the tube.
Hope that helps someone.
December 6th, 2007 at 8:29 pm
I just unscrewed the nut with with pliers instead of cutting it off. I forgot to re-install the nut before inflating the tube and it came out of the valve and I had to use my fingers to manuever it back into the valve, then I put the nut back on and inflated the tube.
I put about 2 t o 3 ounces of slime in each 700cx23 tube. The Slime website says to put 4 ounces in bicycle tires, they dont say how much for different size tubes though.